Ingredients:
- 1 15-ounce can chickpeas (also called garbanzo beans)
- 1 Tablespoon olive oil
- 1/2 teaspoon garlic powder
- 1/4 teaspoon cayenne pepper
- 1/4 teaspoon dried paprika
Instructions:
- Preheat the oven to 400 degrees (F).
- Line a baking sheet with parchment paper, the set aside.
- Pour the canned chickpeas into a large colander, then rinse with cold water.
- Place the rinsed chickpeas into a clean kitchen towel, and pat the beans dry.
- Transfer the towel-dried chickpeas to a large mixing bowl.
- Use a spoonula to coat the chickpeas with the olive oil.
- Add the spices, and use the spoonula once again to mix well.
- Place the spice chickpeas on the parchment-lined baking sheet, then spread the beans out. (The more space between the chickpeas, the faster they will cook.)
- Bake the chickpeas for 35-45 minutes, or until they are completely dried and crunchy.
- Let the chickpeas cool on the baking sheet. Once completely cool, transfer to a storage container.
Makes 6-8 servings.
Nutritional information per serving for 6 servings: 81 calories, 3.5 g fat, 12 g carbohydrate, 3 g fiber, 0 g sugar, 3.5 g protein.
Nutritional information per serving for 8 servings: 61 calories, 2.5 g fat, 9 g carbohydrate, 2 g fiber, 0 g sugar, 2.5 g protein.
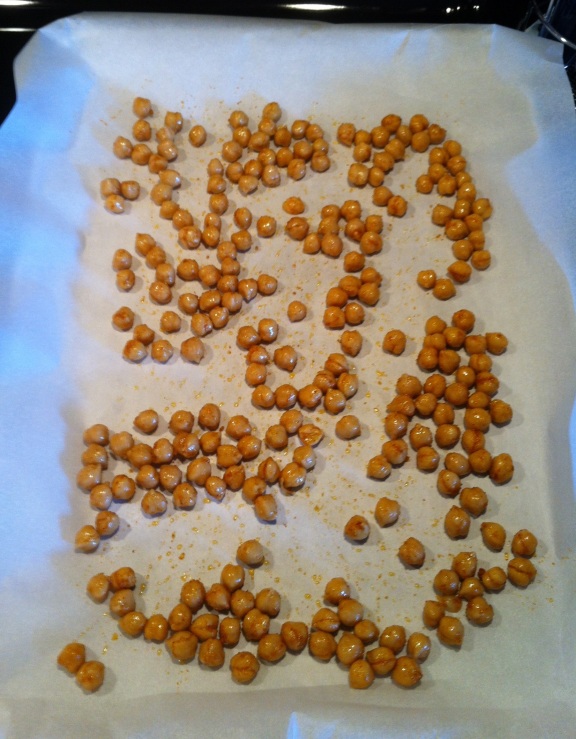
The pan of chickpeas, before going into the oven.

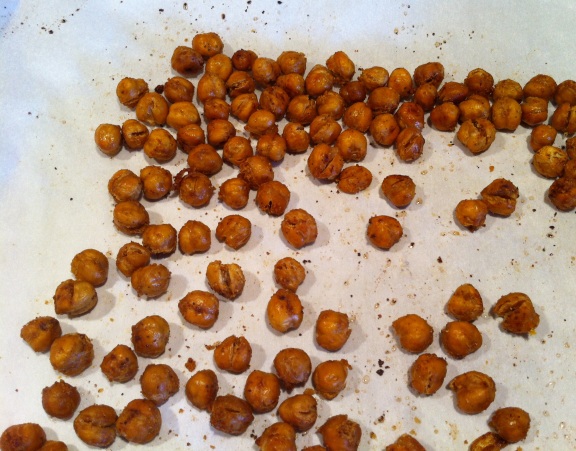
The chickpeas, after baking.
Close-up of the cooked chickpeas. Yum.
The ratings:
Mental Cost (ingredient availability): Insanely low.
Financial Cost (ingredient cost): Cheapskate low.
Emotional Cost (cooking skill level): Idiot-proof low.
Time Cost (recipe preparation): Make-on-a-moment’s-notice low.
Life Cost (clean up time/effort): Tremendously low. (Parchment makes clean-up.)
Worth It? (rate from 1-5): 4.77
Miscellaneous suggestions, insights, and/or thoughts:
- These chickpeas totally fit the bill when I want a crunchy, savory treat – yet they’re super-low in sodium, moderate on the calories, and carb-friendly. Nice.
- A variety of other spices could be used in place of the ones included in this recipe; I think lemon-pepper, rosemary, curry, or any Penzey’s spice blend would be a winner.
Stef


